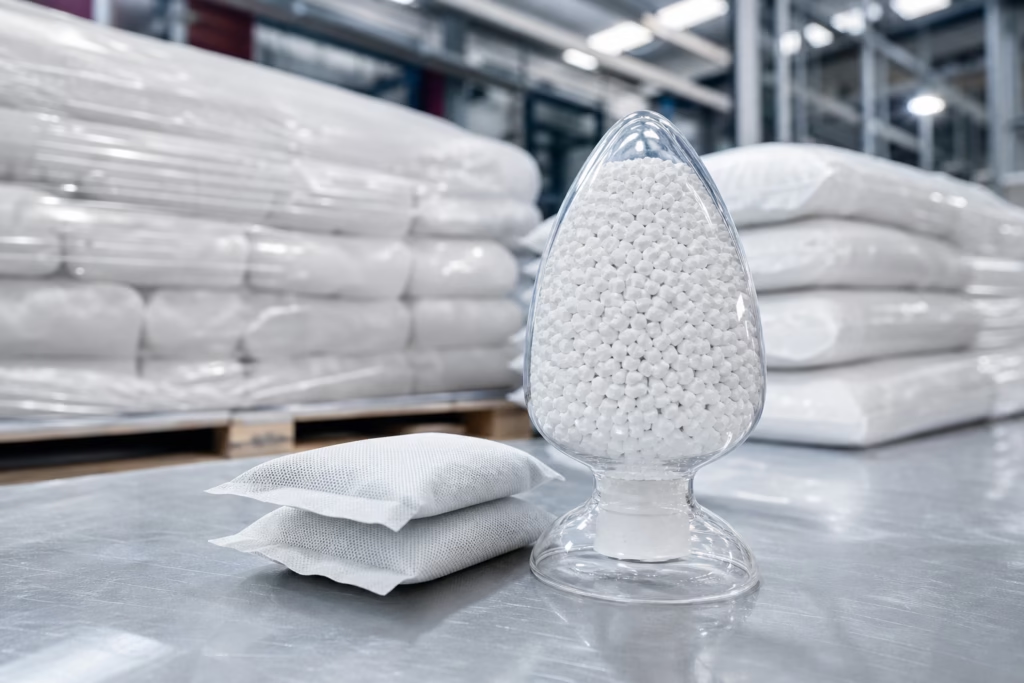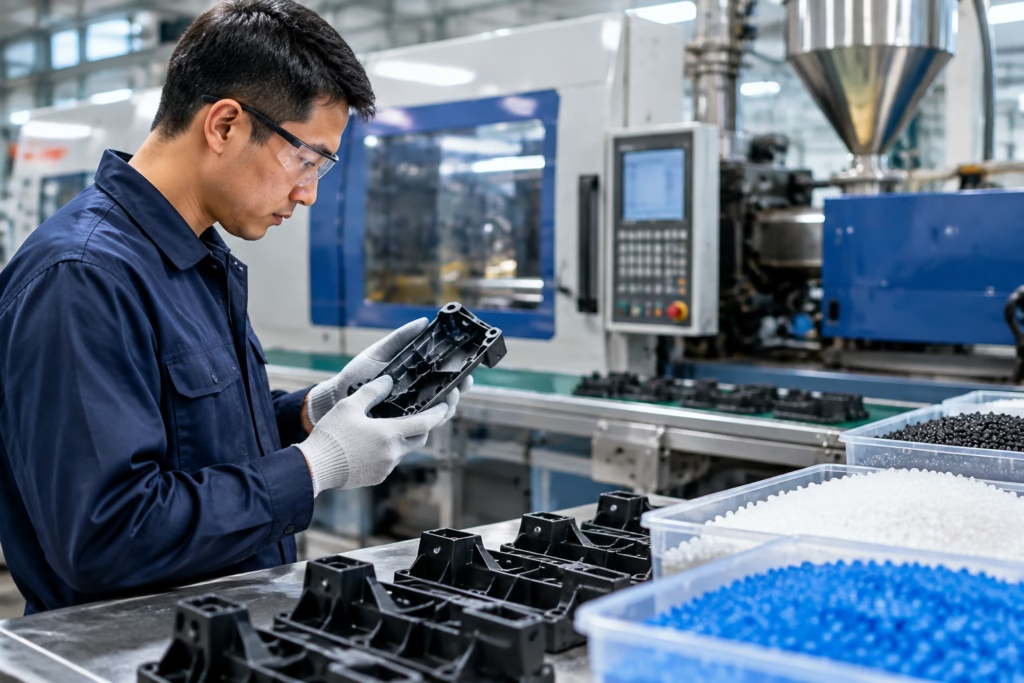
A strong plastic material testing checklist is not just a lab document. In B2B projects, it is a decision tool that helps engineers, sourcing teams, and product developers prove whether a resin can survive real use, process reliably, and meet business constraints before sample stock is exhausted. When teams test too many items too early, they often burn through limited samples without ever answering the one question that matters: will this material work in production?
At Poly Maro, we often see projects move faster when the validation plan is built around the actual risk of the part rather than the full catalog of possible tests. If your project needs a material that balances strength, molding behavior, dimensional stability, and repeatable supply, our custom plastic compounding support can help you narrow the formulation path before you spend limited samples on broad screening. That approach matters whether you are comparing a standard resin to a modified compound, tuning reinforcement levels, or preparing for a molding trial that must produce credible data the first time.
Why plastic material testing often wastes samples in B2B projects
Sample waste usually happens because teams start with test methods instead of validation goals. A checklist becomes a shopping list: tensile, flexural, impact, heat resistance, chemical soak, drying behavior, color, shrinkage, warpage, and processability all get added at once. The problem is not that these tests are useless. The problem is that they are not equally important for every part, and they consume different amounts of material.
For example, a connector housing, a structural cover, and an indoor decorative component all face different failure modes. The connector may need electrical insulation and dimensional stability. The structural cover may need impact resistance and creep resistance. The decorative part may care more about appearance, gloss, and warpage. If all three projects use the same test pack, sample usage becomes inefficient and decision quality often drops.
The better approach is to treat each test as a risk-reduction step. Ask what would make the material fail in the real application, then test only the properties that can prove or disprove that risk with the fewest samples possible. That is the core discipline behind an effective plastic material testing checklist.
Start with the validation goal before you define the test items

Before you choose any test method, define what you are trying to prove. There are only a few common validation goals in B2B plastic projects:
- Can the material meet the mechanical load required by the part?
- Will it process consistently in the actual mold, screw, and drying environment?
- Will it keep dimensions stable after molding and during service?
- Does it survive heat, chemicals, moisture, or electrical exposure?
- Can the supplier provide repeatable batches with acceptable lead time and documentation?
When the goal is clear, the checklist becomes much smaller and more powerful. If the part is a thin-wall housing, flowability and warpage may matter more than a long list of physical tests. If the part is a gear or sliding component, wear behavior and creep may deserve more focus. If the part is exposed to oil, cleaners, or outdoor weather, chemical and environmental resistance should move to the front of the line.
This is also where a manufacturer mindset helps. At Poly Maro, we usually start with the failure mode, then map the test sequence backward from the application. That is often more efficient than asking the lab to test everything and hoping the result will reveal the answer.
Build a plastic material testing checklist by property category
A practical checklist should group tests by what they tell you about the part. The goal is not to include every possible laboratory method. The goal is to cover the highest-risk property categories in a logical order.
| Property category | What it tells you | Typical sample risk |
|---|---|---|
| Mechanical | Strength, stiffness, impact resistance, elongation, creep | High, because many tests require molded bars or finished parts |
| Thermal | Heat resistance, softening behavior, dimensional retention | Medium to high, depending on the part’s temperature exposure |
| Electrical | Insulation, conductivity, anti-static behavior | Medium, often relevant for electronics and connectors |
| Chemical | Resistance to oils, fuels, cleaners, coolants, solvents | Medium, usually service-condition dependent |
| Processing | Drying sensitivity, melt behavior, molding window, shrinkage, warpage | High, because process trials can consume more material quickly |
| Appearance | Color consistency, gloss, flow marks, weld lines, surface quality | Medium, especially for visible consumer parts |
Mechanical testing is often where teams overspend sample material. A tensile or impact result is useful, but only if it relates to the part’s actual loading. For standardized tensile evaluation, specimen conditioning and test setup must be controlled carefully; otherwise, the numbers are not comparable. That is why we often refer teams to the ASTM D638 tensile test for plastics when they need a common basis for comparing data across suppliers or batches.
Thermal testing should be selected based on the service temperature, not on the highest number you can find in a datasheet. Electrical testing should be used when conductivity, insulation, or static control is part of the application. Chemical testing should reproduce the actual media the part sees, not an unrelated laboratory solvent. Processing tests should reflect the molding machine and part geometry you will use in production. Appearance testing should be tied to customer-visible criteria, not personal preference.
How to prioritize tests based on application risk
Not every project needs the same test depth. We recommend ranking test items by risk level:
- Critical risk: if the property fails, the part cannot be used.
- Major risk: if the property fails, the part may work in a limited way but will be unstable or inconsistent.
- Minor risk: if the property fails, it affects preference, cost, or margin rather than function.
For a connector housing, dimensional stability and electrical performance may be critical, while gloss may be minor. For a decorative appliance part, appearance and scratch resistance may be critical, while tensile strength may be major but not first priority. For a structural bracket, stiffness and creep may outrank color matching. This ranking keeps sample use focused on the properties that truly determine approval.
A useful rule is to test what changes the design decision. If a result will not change whether you approve, reject, or request reformulation, it is probably not a first-round test.
How much sample is actually needed for sample evaluation plastic testing
One of the most common mistakes is assuming that more tests automatically mean better validation. In reality, material evaluation should be planned around sample consumption. A small amount of resin can disappear quickly once you include drying loss, molding purge, setup scrap, and repeated adjustment shots.
A practical allocation strategy often looks like this:
- Screening samples: used for basic identification, appearance checks, and a small number of fast decision tests.
- Destructive samples: reserved for tensile, impact, flexural, and other tests that consume molded bars or parts.
- Process trial samples: set aside for actual molding, parameter tuning, and first-run stability checks.
- Reserve samples: kept untouched for confirmation testing, dispute resolution, or retest after process changes.
When the project is early-stage, we recommend protecting the reserve sample first. Do not spend the best material on exploratory tests before the validation plan is agreed. If the sample is limited, use lower-risk observations first: color, pellet consistency, drying response, melt flow behavior, and a single pilot molding pass. Only then move into destructive tests and longer process trials.
For high-value or limited formulations, a common discipline is to define the minimum material needed to answer each question. That means knowing in advance which test consumes how much resin, how many molded pieces you need, and which tests can share the same conditioned specimens. This planning step saves more samples than any lab shortcut.
Engineering plastic validation before pilot production
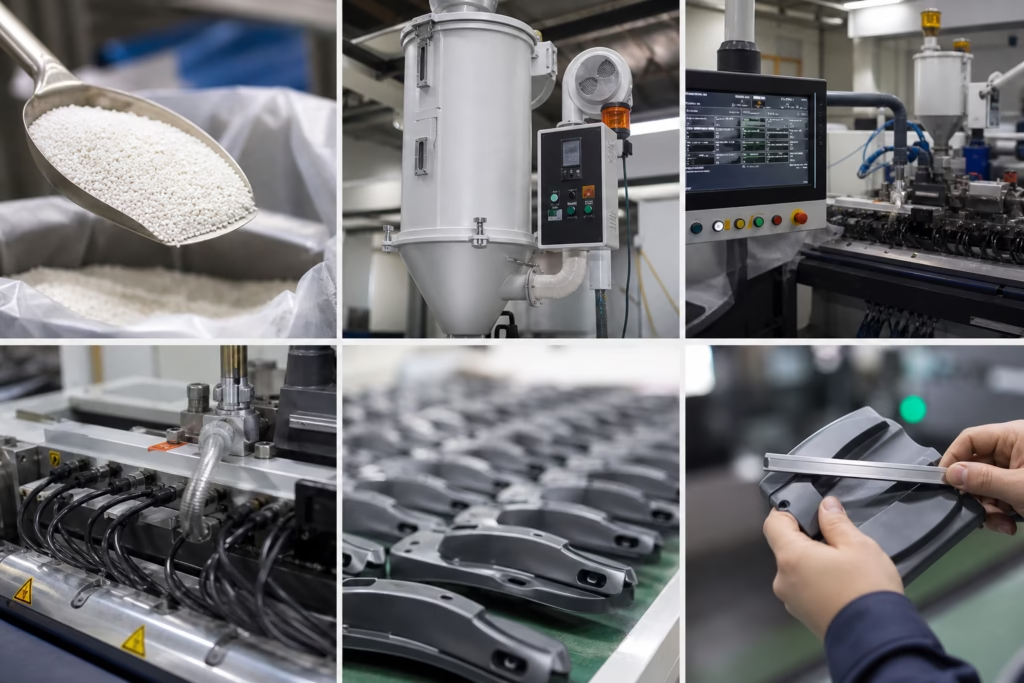
Engineering plastics often look acceptable in the datasheet but behave differently once the part, mold, and production window are added. Before pilot production, we like to validate four things together: property fit, process stability, dimensional control, and supply repeatability.
Property fit means the material can handle the load, temperature, environment, and appearance target. Process stability means it can be dried, fed, plasticized, and filled reliably. Dimensional control means shrinkage and warpage stay within acceptable tolerance. Supply repeatability means the same result can be reproduced from batch to batch.
This is where comparison between a standard resin and a modified compound becomes important. A standard grade may work in the lab but fail in the mold because it warps too much, absorbs moisture too quickly, or lacks the stiffness needed for the geometry. In those cases, comparing a modified option against the baseline can be more useful than running extra tests on the original material. Our custom plastic compound vs standard grade guide is useful when your team needs to decide whether the base resin should be kept as-is or adjusted for reinforcement, impact balance, or process stability.
Before pilot production, it is also useful to confirm whether the material is sensitive to drying or storage. Polyamides are a common example: if moisture control is weak, the material can shift in viscosity, appearance, and performance during molding. A targeted preparation workflow such as a nylon moisture control checklist for molding trials can prevent false conclusions that are really caused by improper drying rather than by the resin itself.
Common validation mistakes in B2B projects
Most sample waste comes from a few repeatable mistakes. When teams avoid these, the quality of the entire validation process improves.
Mistake 1: Testing too many items without a clear pass/fail standard
If the team has not defined what counts as acceptable, every test becomes open to interpretation. A material can look “pretty good” in ten tests and still fail the actual project. Each item in the checklist should have an acceptance criterion tied to the part requirement.
Mistake 2: Confusing datasheet values with real processing performance
Datasheet values are useful, but they are not the mold. Real-world results depend on drying, residence time, temperature profile, mold design, gate location, and cooling balance. A material that performs well in theory may still flash, warp, or burn in production.
Mistake 3: Ignoring molding conditions, drying, and part design effects
Many “material failures” are actually process or design failures. If a nylon is not dried properly, if a glass-filled grade is over-sheared, or if a thin-wall part has poor venting, the test result can be misleading. Material validation should always be read together with molding conditions and part geometry.
Mistake 4: Using too few samples or unrepresentative samples
Testing one good-looking sample is risky. You need enough specimens to see variation, not just a lucky shot. If the sample comes from an unrepresentative lot, a hand-selected pellet bag, or a preconditioned batch that differs from production reality, the result may not translate to mass production.
Mistake 5: Focusing only on one property while missing the full application risk
A high tensile number is not enough if the part warps, cracks at weld lines, or changes dimensions under humidity. Likewise, a great impact score does not help if the material cannot be molded into a stable part. The checklist should balance performance across the real service environment.
Mistake 6: Skipping comparison against the current material or reference resin
Validation is easier when you have a baseline. The current material, a known-good resin, or a reference compound lets you judge improvement or regression objectively. Without a baseline, teams often approve a new material based on isolated numbers rather than application fit.
Mistake 7: Not separating lab results from mass-production verification
Lab results show what the resin can do in controlled conditions. Production verification shows what it can do on your machine, in your mold, with your operator routines and cycle time. Both are needed. If you treat one as a substitute for the other, approval decisions become fragile.
Mistake 8: Neglecting supplier consistency, batch variation, and documentation
Even a good sample can mislead if the supplier cannot repeat the same properties from batch to batch. Ask for lot identification, test reports, drying guidance, and production history where relevant. A technically suitable material that varies too much in supply can still become a project risk.
A practical sample evaluation workflow for B2B teams
A disciplined workflow helps the team use limited material efficiently. One useful sequence is:
- Define the application requirements and top failure risks.
- List the must-pass properties and the acceptable limits.
- Separate screening tests from destructive tests.
- Lock the test conditions before the first sample is consumed.
- Record sample ID, lot number, drying conditions, machine settings, and acceptance criteria.
- Run the smallest test set that can support an informed decision.
- Compare against a reference resin or current production material.
- Decide whether to approve, request reformulation, or reject.
When we support customer projects, we often suggest a test record format that makes comparison easy later. The record should include sample ID, resin family, lot number, date received, storage condition, drying condition, test geometry, molding temperature, hold time, cooling time, and the exact acceptance rule used. Without these details, the same test cannot be repeated fairly.
It is also useful to keep test results separated by stage. Screening results should not be mixed with pilot production results. This keeps the team honest about what the material proved in the lab versus what it proved in the actual process.
How to compare results across suppliers or formulations fairly
Fair comparison is one of the hardest parts of a B2B validation project. Different suppliers may use different base resins, additive packages, reinforcement systems, or color systems. Even if the declared grade looks similar, the real behavior may differ.
To compare fairly, use the same:
- specimen geometry
- conditioning time
- test standard or method
- processing window
- equipment setup
- acceptance criteria
For dimensional or warpage-sensitive parts, it is also important to compare molded samples from the same cavity or the same production setup. This is why dimensional stability is often one of the first practical tests for engineering resins. If you want a more detailed view of the factors that influence part movement and shrink balance, see our guide on how to evaluate dimensional stability in plastics.
When comparing formulations, avoid judging a material by a single result in isolation. A resin with better flow may reduce cycle time but increase shrinkage. A more reinforced grade may improve stiffness but worsen surface finish or weld line appearance. Comparison only makes sense when the trade-offs are visible together.
When to request a modified compound, retest, or resin adjustment
Sometimes the answer is not to keep testing the same resin. If the checklist shows a consistent mismatch between the material and the application, a modification request may be the better path. Typical adjustments include glass fiber reinforcement, mineral filling, impact modification, flame retardancy, lubrication, anti-static behavior, or color tuning.
The right time to request a modification is when the problem is structural rather than procedural. If the material is close but not close enough, additional testing may only confirm the same gap. In that case, a resin adjustment can be more efficient than continuing to consume samples on an unsuitable base grade.
At Poly Maro, this is where engineering discussion matters. A supplier who can explain why a compound needs to be changed can save a buyer from months of testing loops. We recommend asking whether the issue belongs to the resin family, the additive system, or the process setup before you commit more sample material.
Checklist template for material selection, lab testing, molding trial, and final approval
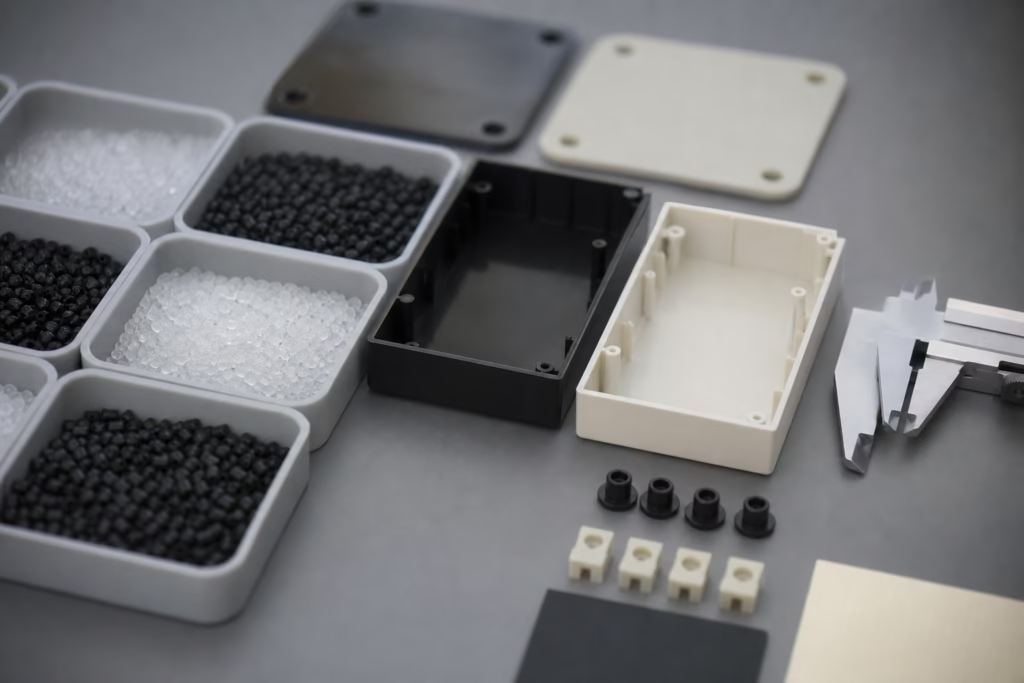
A good checklist should move in stages, not all at once. Below is a practical structure you can adapt for internal use:
| Stage | Goal | Key checks | Decision output |
|---|---|---|---|
| Material selection | Eliminate obviously unsuitable options | Resin family, reinforcement, heat, chemical, electrical, cost fit | Shortlist |
| Lab testing | Verify core property claims | Tensile, impact, thermal, chemical, electrical, appearance | Pass or revise |
| Molding trial | Confirm process stability | Drying, flow, fill, venting, cycle, flash, sink, warpage | Process fit |
| Final approval | Confirm production readiness | Repeatability, documentation, lot consistency, baseline comparison | Approve, retest, or reject |
This stage-by-stage structure prevents sample waste because each phase has a clear purpose. It also prevents one bad trial from being mistaken for a total failure. If the material passes lab testing but fails in molding, the issue may be process-related. If it passes molding but fails long-term service, the issue may be application-related. The checklist should tell you where the real risk sits.
Final decision rules for B2B material approval
When the project reaches the decision point, use simple rules. Approve the material only if it meets the must-pass requirements, processes in a controlled window, and can be supplied consistently. Request retesting if the material is close but the cause of failure is unclear. Reject it if the risk is fundamental or if sample results cannot be reproduced under realistic conditions.
The most useful plastic material testing checklist is not the longest one. It is the one that matches the application, preserves samples, and gives your team enough confidence to move forward without guessing. If the validation plan is clear, the test record is complete, and the comparison is fair, you will usually need fewer samples to reach a better decision.
From our manufacturing perspective, that is the real goal: not to test more, but to test smarter. A disciplined checklist reduces waste, lowers sourcing risk, and helps the right resin reach trial production with fewer surprises.
FAQs
What is the first step in building a plastic material testing checklist?
Start by defining the real application risk. Before listing test methods, decide what failure would matter most in the part: load, heat, moisture, chemical exposure, appearance, dimensional stability, or processing stability. Once the risk is clear, the checklist becomes smaller and more effective.
How many tests should a B2B team include in the first round?
Only the tests needed to prove or eliminate the main risk should be included in the first round. A short, targeted set is usually better than a long generic list because it preserves samples and avoids results that do not change the decision.
Why do datasheet values sometimes disagree with molding results?
Datasheet values are usually generated under controlled test conditions, while molding results depend on drying, machine settings, mold design, cooling balance, and part geometry. A resin may look strong on paper but still warp, flash, or process inconsistently in real production.
How should we divide samples between testing and molding trials?
Reserve enough material for screening, destructive testing, process trials, and backup confirmation. Keep reserve samples untouched until the main decision is made. This avoids spending the best material too early and protects the project if retesting is needed.
When should a team ask for a modified compound instead of more testing?
Ask for a modified compound when the material is structurally close but still misses a key requirement, such as stiffness, impact balance, heat resistance, flow, or dimensional stability. If repeated testing keeps showing the same mismatch, formulation change is often more efficient than another test round.
What records should be kept for each sample evaluation?
Keep sample ID, lot number, storage condition, drying condition, molding settings, test standard, specimen type, and acceptance criteria. These records make the result repeatable and help the team compare suppliers fairly.