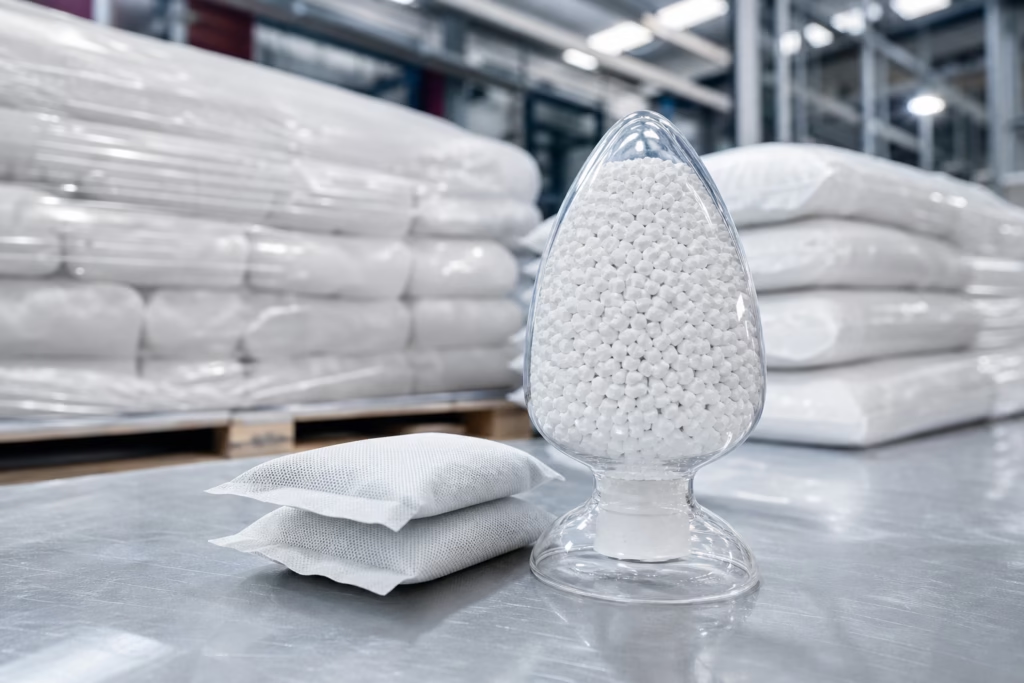
When molded parts show flowering, silver streaks, or flow marks, the first reaction is often to blame the mold or the machine. In our experience, that is only half the story. The material can create the same appearance problem through moisture, volatiles, contamination, unstable flow, or poor additive dispersion, especially when the resin family or compound is close to its processing limit. This guide is designed to help engineers, processors, and procurement teams identify when a plastic molding surface defect material issue is the real root cause, and when the problem is more likely to be process- or mold-related.
If your project needs a fast way to separate resin problems from processing problems, our custom plastic compounding support can help you compare resin behavior, tailor reinforcement or additive packages, and validate whether a formulation change is likely to improve appearance consistency before you scale up production.
What these surface defects usually mean in production
Surface defects are not just cosmetic. In many factories, they are the earliest visible signal that something in the molding system is unstable. Flowering, silver streaks, and flow marks may not always reduce strength, but they can trigger customer rejection, create sorting costs, and force unplanned machine adjustments. For precision parts, appearance instability can also hint at deeper issues such as moisture entrapment, degraded polymer, poor melt uniformity, or inconsistent color dispersion.
The practical challenge is that the same visual symptom can come from different causes. A silver streak can be caused by moisture in hygroscopic resin, but it can also be worsened by poor venting or excessive shear. A flow mark may reflect melt instability, but it can also appear when the resin grade is too viscous for the part geometry. That is why we recommend diagnosing the pattern before changing settings or changing suppliers.
Common appearance problems to group together
- Flowering: a cloudy, hazy, or branched appearance often seen on the surface after molding.
- Silver streaks: bright streaks or shiny lines running with the flow direction, often associated with gas, moisture, or contamination.
- Flow marks: visible flow fronts, bands, or uneven gloss patterns created by unstable flow or inconsistent cooling.
- Splay: a broader term often used for streaking or frosted lines caused by moisture or volatile release.
When the defect is likely material-related
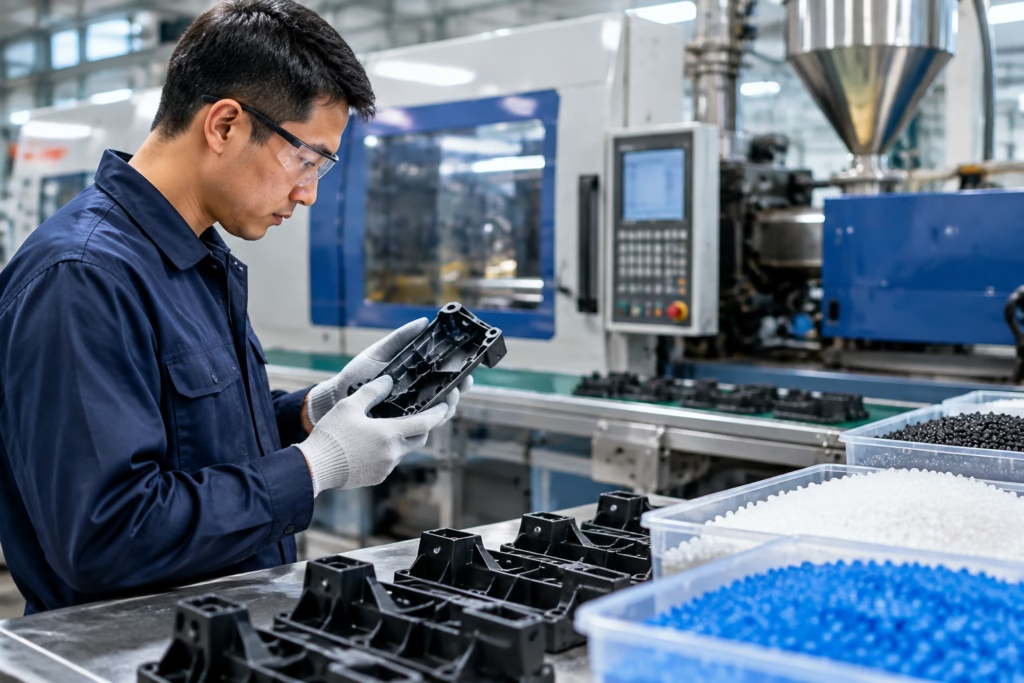
At Poly Maro, we usually start by asking three questions: did the defect begin after a material change, does it repeat across cavities or machines, and does it move with the resin lot? If the answer is yes to one or more of these, the material deserves close inspection. A material-related defect often appears consistently across a batch, remains visible even after moderate parameter tuning, and becomes more severe when drying is incomplete or the resin is near its recommended processing boundary.
A useful shortcut is to compare the current lot with a previous stable lot. If the mold, machine, and operator are the same but the appearance changes after a resin lot change, masterbatch change, or recycled-content adjustment, the material is a strong suspect. This is especially common in compounds that rely on fillers, reinforcements, flame retardants, or special color systems.
| Observation | More likely material-related | More likely process or mold-related |
|---|---|---|
| Defect appears after resin lot change | Yes | No |
| Defect repeats on multiple machines | Yes | Sometimes |
| Defect reduces strongly after drying adjustment | Yes | Sometimes |
| Defect appears only in one cavity | Less likely | Yes |
| Defect moves with injection speed or venting change | Less likely | Yes |
One useful planning question is whether the part specification really needs a standard resin or a modified one. In many cases, the balance between appearance and performance depends on the formulation choice. That is why a custom plastic compound vs standard grade comparison can be more useful than a simple price comparison when the part must meet both visual and functional requirements.
Material-related causes of flowering and silver streaks
Flowering and silver streaks are often linked to gas or vapor being released inside the melt stream. The source may be moisture, low-boiling volatiles, degraded resin, trapped air carried in with the feed, or contamination from incompatible materials. In hygroscopic resins such as PA, PET, PBT, and some TPU grades, moisture is a frequent trigger. If the resin is not dried to the correct condition, water can turn into steam during plasticizing or injection, creating streaks, silvering, or a rough, frosted appearance.
Another common cause is contamination. Even a small amount of foreign polymer, oil, dust, or incompatible regrind can disturb the melt and create local streaks. In transparent or light-colored parts, the defect is easier to see. In dark parts, the same issue may show up as sheen variation, surface dulling, or subtle bloom patterns rather than obvious silver streaks.
Why moisture is such a frequent root cause
Moisture does not always stay visible as a single large bubble. In many cases, it creates microvoids or gas lines that stretch in the flow direction, which is why the defect often looks like a bright streak rather than a hole. Resins such as nylon are especially sensitive because their moisture behavior affects both processing and final part appearance. We often recommend process teams review storage, drying equipment, dwell time, hopper sealing, and transfer path before they assume the mold is at fault. For a deeper process perspective, see why nylon moisture issues increase after moisture absorption.
Volatile content can also come from additives or color systems. A resin may meet the right MFR or MFI target but still show poor appearance because the additive package is not well dispersed or because an ingredient releases volatiles under heat. In those cases, a simple drying change may help, but a formulation review is often the real solution.
Material-related causes of flow marks
Flow marks usually appear when melt flow is unstable across the cavity, across the flow length, or over time during the fill cycle. A material problem becomes more likely when the resin viscosity is too high for the part, the flow window is too narrow, or the compound contains fillers or reinforcements that create uneven flow. Color or additive dispersion can also create a striped or banded appearance that looks like a flow defect even when the mold design is acceptable.
This is where resin family choice matters. A PP part with simple geometry may tolerate a broader appearance window than a highly filled PC/ABS housing. A PBT or PET part may show strong sensitivity to moisture and cooling balance, while POM can show different behavior depending on grade, crystallization pattern, and processing stability. The wrong combination of resin grade and part design can produce repeated flow marks even when the machine settings seem reasonable.
What to check in the material data sheet
- MFR or MFI: helps estimate how easily the resin will fill the cavity.
- Recommended drying condition: critical for hygroscopic resins and moisture-sensitive compounds.
- Melt temperature window: indicates how much processing flexibility the resin can tolerate.
- Filler or fiber content: higher loading often improves stiffness but can raise appearance risk.
- Additive package: flame retardant, impact modifier, and color masterbatch can all affect flow and gloss.
- Lot traceability: essential when the defect appears after a supply change.
For filled and reinforced compounds, the appearance risk is not just about flowability. Fiber orientation, filler dispersion, and shrinkage balance can all affect how the surface reflects light. That is why why glass fiber reinforced plastics are more prone to warpage and appearance defects is a useful reference when a part combines stiffness requirements with tight visual standards.
How reinforcement, fillers, and additives change appearance risk
Reinforcement and additive modification solve many performance problems, but they can also increase the chance of surface defects if the formulation is not balanced. Glass fiber can improve stiffness and heat resistance, yet it can also raise the likelihood of flow lines, anisotropic shrinkage, and surface roughness. Mineral fillers can reduce shrinkage and cost, but poor dispersion may create gloss variation or visible streaking. Flame retardants can improve safety performance but may narrow the molding window. Impact modifiers can help toughness, but they may also alter viscosity and surface finish.
Recycled content deserves special attention. Even when a recycled stream is well controlled, its thermal history, contamination risk, and melt stability may differ from virgin resin. That difference can show up first as a surface issue. For procurement teams, this means the cheapest formulation is not always the lowest-risk formulation if the end customer has strict appearance requirements.
We often advise buyers to think in terms of trade-offs, not absolute material labels. A modified compound may be the right choice if the part must resist heat, survive impact, and still look clean. The key is to validate the appearance window before committing to mass production. At Poly Maro, we approach this by matching the part requirement to the formulation path instead of trying to force one generic grade to solve every problem.

| Material feature | Likely appearance effect | Typical risk level |
|---|---|---|
| High glass fiber loading | More flow lines, rougher surface, gloss variation | Medium to high |
| Flame-retardant package | Narrower process window, possible streaking if dispersion is poor | Medium |
| High recycled content | Higher chance of contamination or melt inconsistency | Medium to high |
| Poor masterbatch dispersion | Color streaks, banding, uneven gloss | High |
| Unstable viscosity lot-to-lot | Variable flow marks and fill appearance | High |
How different resin families behave
Different resin families fail in different ways, so the material diagnosis should always start with the polymer type. PP can be sensitive to melt temperature, nucleation behavior, and additive dispersion. ABS often shows visible flow patterns when processing is near the edge of the grade window or when color dispersion is inconsistent. PC and PC/ABS can show stress-related appearance issues if drying is weak or if excessive shear creates melt instability. PA grades may show streaking quickly when moisture control is poor. PBT and PET are highly sensitive to drying, and their appearance can change noticeably with moisture, hydrolysis, or unstable cooling. POM and TPU can also reveal surface instability if the grade selection does not match the part thickness or molding cycle.
The practical lesson is simple: do not diagnose by appearance alone. Diagnose by resin family, part thickness, flow length, drying practice, and batch history. A resin that behaves well in a small cosmetic cover may perform poorly in a long-flow structural part, even if the resin is technically the same grade. This is one reason we always ask for the full part context before recommending a new formulation or process change.
Process factors that can disguise a material issue
Sometimes the material is not the root cause, but the process makes the material look guilty. Incomplete drying, low melt temperature, too-rapid injection, excessive back pressure, poor venting, or unstable hold pressure can all magnify a borderline material into a visible defect. A resin with marginal flow can show flow marks if the injection speed is too low. A moisture-sensitive compound can show silver streaks if the hopper residence time is too long or the dryer dew point is unstable. A filled compound can show blooming or streaking if the shear rate is too high and the additive package separates during plasticizing.
When we troubleshoot, we try to match the defect timing with the molding cycle. Does the defect appear at startup, after prolonged production, after a dryer change, or only after the barrel temperature drifts? That pattern often tells us whether the material is unstable or whether the process is exposing a hidden weakness. When the team needs a structured validation approach, a plastic material testing checklist for validation and sample review helps organize the evidence before a final material decision is made.
Simple confirmation tests before changing the resin
- Compare parts made from two different resin lots under the same mold and settings.
- Dry the resin more carefully and check whether the defect intensity changes.
- Inspect the defect under consistent lighting to distinguish haze, streaks, and gloss bands.
- Run a short shot study to see whether flow marks move with fill speed or melt temperature.
- Ask whether the defect is linked to startup, steady state, or the end of a run.
A practical decision method for engineers and buyers
We recommend a four-step judgment method. First, locate the defect: is it at the gate, along the flow path, near weld lines, or across the whole part? Second, classify the pattern: is it streak-like, cloudy, banded, or directional? Third, compare history: did it start after a material lot change, a color change, a dryer change, or a mold maintenance event? Fourth, verify with a simple test, such as a resin lot comparison or an improved drying trial.
This method matters for procurement teams as much as for process engineers. If the issue is truly material-related, the supplier needs the right evidence to respond quickly. If the issue is not material-related, switching suppliers will not solve it and may even create a new problem. Clear diagnosis reduces scrap, avoids unnecessary requalification, and speeds up root-cause correction.
What data to collect before blaming the material
The more complete the data package, the faster the supplier can help. At minimum, provide the resin grade, supplier lot number, molding machine settings, drying conditions, cavity number, defect photos, and when the defect first appeared. If possible, include the part drawing, wall thickness, runner and gate information, regrind ratio, masterbatch used, and any recent changes in maintenance or material storage. For compounded materials, share the additive package, reinforcement level, and any color standard being used.
For suppliers, the most useful complaint is not a short statement that the part is bad. It is a structured record that shows the exact production context. That lets us compare the sample against the intended formulation, check whether the issue is batch-specific, and separate material instability from molding drift. It also makes it easier to decide whether a reformulation, a drying change, or a process adjustment is the right next step.
How a supplier should troubleshoot a surface defect

From a manufacturer’s point of view, the right workflow is usually lab verification first, then process comparison, then sample-to-mass-production comparison. We check whether the resin meets the expected property range, whether the moisture content is within target, whether the color or additive package is evenly dispersed, and whether the lot matches the approved sample. If the sample performed well but production parts do not, the issue may sit in the transfer, storage, or molding stage rather than in the compound itself.
We also compare the defect pattern with the part’s intended end use. A cosmetic electronics housing has a different tolerance for streaking than an internal industrial bracket. A transparent or high-gloss part needs a narrower process window than a hidden structural component. This is why supplier collaboration is most effective when the application requirement is clear from the start. For teams building a long-term sourcing strategy, the right question is not only whether the part can be molded, but whether the formulation can be reproduced at scale with the same surface quality.
How to reduce recurrence through material selection
Once the immediate defect is controlled, the next step is recurrence prevention. In many cases, that means selecting a resin with a wider process window, a lower moisture sensitivity, better additive dispersion, or more stable flow behavior. If the part is highly visible, we may recommend reducing filler loading, improving color masterbatch compatibility, or changing the base resin family to improve appearance consistency. If the part needs higher heat or impact performance, the formulation may still be optimized, but the trade-off must be made consciously rather than accidentally.
In practice, recurrence prevention is a material-engineering task as much as a process task. That is why it helps to look at the end-use demand first and the resin catalog second. If your project needs toughness without sacrificing appearance, an impact-modified plastic compound options for tougher molded parts review may be more useful than a standard-grade comparison alone. If your part also runs hot, then the thermal margin matters just as much as the impact response.
A buyer checklist before changing suppliers or grades
- Confirm whether the defect started after a material or process change.
- Compare two or more resin lots before making a sourcing decision.
- Check drying capability, storage handling, and transfer exposure.
- Collect defect photos under the same lighting and angle.
- Record MFR or MFI, moisture condition, and color masterbatch details.
- Validate the new material with a short production trial, not just a lab sample.
Frequently asked questions
Are silver streaks always caused by moisture?
No. Moisture is one of the most common causes, especially in hygroscopic resins, but silver streaks can also come from volatiles, contamination, poor venting, degraded resin, or unstable additive dispersion. The best way to judge is to compare drying history, resin lot changes, and whether the defect responds to process adjustments.
Can flow marks be solved by changing only machine settings?
Sometimes, but not always. If the resin grade is too viscous, the additive package is unstable, or the filler loading is too high for the part geometry, process changes may only reduce the symptom temporarily. If the flow problem is material-related, a resin or formulation change is often more durable.
How do I know whether flowering is a material or mold issue?
Start with pattern and timing. If the defect follows the resin lot, improves with better drying, or appears across multiple cavities, the material is a strong suspect. If it appears only in one cavity or changes with venting and mold temperature, the mold or process may be the stronger cause.
What information should I send to a resin supplier about a defect?
Send the resin grade, lot number, drying condition, molding parameters, part photos, defect timing, cavity number, and any recent changes in color masterbatch, regrind, or maintenance. Clear evidence helps the supplier compare the production lot with the approved sample and diagnose the real cause faster.
Do reinforced compounds always create worse surface appearance?
Not always, but reinforcement usually narrows the appearance window. Glass fiber, mineral filler, and some flame-retardant packages can increase the risk of flow lines, gloss variation, or surface roughness if the formulation is not well balanced. The right compound can still perform well if the part requirements are matched carefully.
When should a buyer switch from standard grade to custom compound?
When the part has a combination of requirements that a standard grade cannot meet consistently, such as appearance, heat resistance, impact strength, or dimensional stability. A custom compound becomes especially useful when the same defect keeps returning despite reasonable molding adjustments.