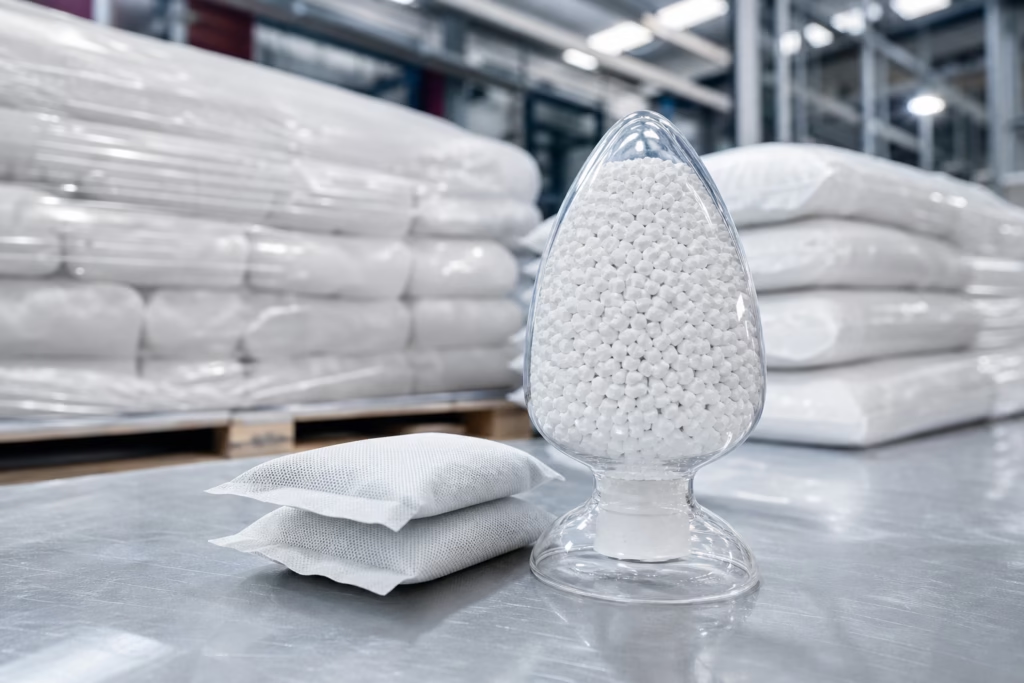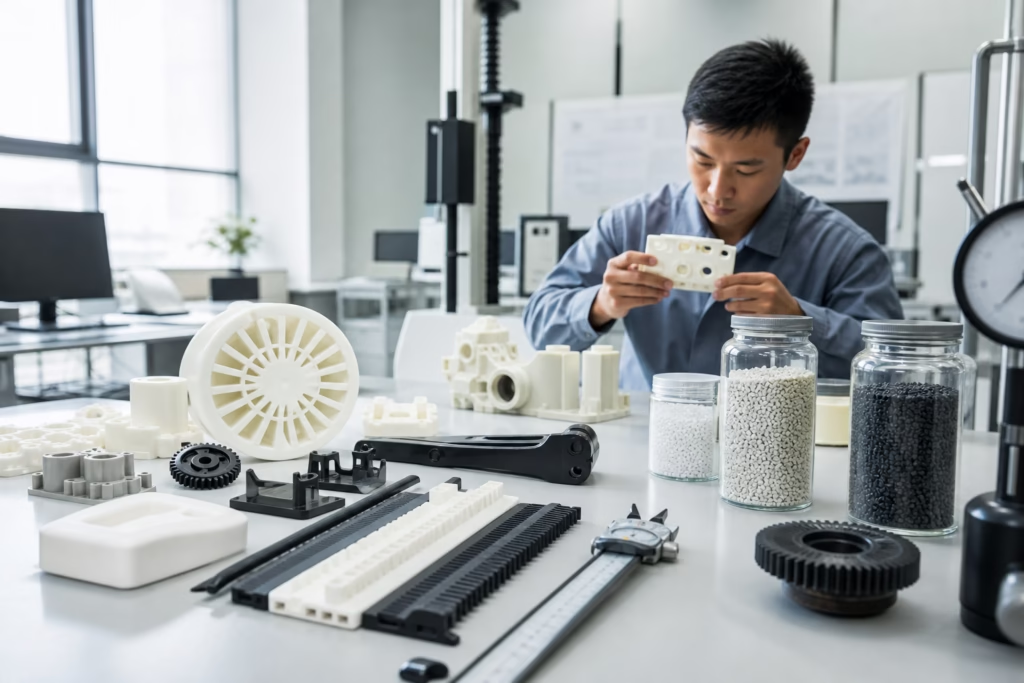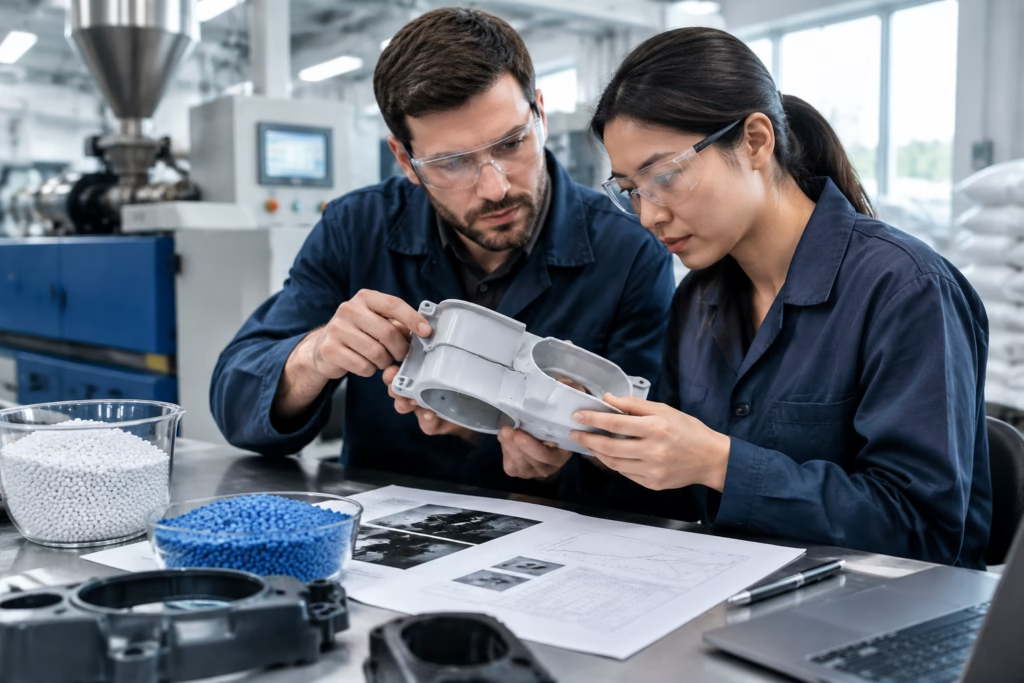
When a molded part looks dull instead of crisp and reflective, the problem is rarely just “bad gloss.” In glossy surface injection molding, surface appearance is the result of how the resin flows, how the mold finishes the skin layer, how the process packs and cools the part, and how the material formulation supports or undermines that surface. For injection molders and material buyers, the practical challenge is not only to identify low gloss, but to separate resin-side causes from machine-side and mold-side causes quickly enough to avoid wasting time on trial and error.
For teams that need to improve appearance without sacrificing production stability, custom plastic compounding support for appearance tuning can be a useful starting point. At Poly Maro, we look at gloss as a system property, not a single additive decision: resin selection, filler choice, flow behavior, mold release balance, drying control, and batch consistency all affect whether a part arrives with a clean, high-appearance surface or a dull, uneven finish.
What low gloss really means in an injection molded part
Low gloss is often used as a catch-all complaint, but the visual problem may come from several different surface conditions. Dullness usually means the surface does not reflect light cleanly. Haze can appear like a soft cloud over the part. Flow marks often create streaks that catch light unevenly. Splay may look like silvery lines or scattered bright streaks. Roughness makes the surface scatter light even when the resin itself is sound. A molder should identify which symptom is present before changing materials or machine settings.
That distinction matters because each defect points to a different root cause. A part with a rough cavity print may be limited by mold polish. A part with edge dullness may be freezing too early at the end of flow. A part with haze may be suffering from moisture, contamination, or filler-related light scattering. A part with broad low gloss after process changes may simply be running too cold or too slowly.
In other words, appearance problems are not only cosmetic. They often reflect what the melt experienced during filling, packing, and cooling. When gloss drops, it usually means one or more parts of the process are no longer forming a stable, smooth skin layer.
Why surface gloss matters in real applications

Gloss affects more than first impression. In consumer products, it shapes how buyers judge quality before they touch the part. In automotive trim, appliance housings, and electrical covers, a stable surface finish can make the difference between a premium look and a reject. In some parts, gloss also affects downstream printing, painting, labeling, or assembly because visible surface variation makes defects easier to see.
For procurement teams, gloss consistency is part of supply reliability. A material that looks acceptable on one run but dulls on the next can create hidden costs in inspection, sorting, customer complaints, and rework. For processing teams, the appearance target must be matched to a realistic material and process window. A highly reflective finish is possible only when resin formulation, mold quality, and machine stability all support it together.
This is why glossy parts are often judged alongside dimensional stability and gate behavior, not separately from them. A material that looks great but warps, shrinks unevenly, or is hard to dry may not be a real production solution. We treat gloss as one of several outcome indicators that reveal whether the total molding system is balanced.
Main resin-side causes of low gloss
Material formulation has a strong influence on the final surface. Base resin family is the first decision point. PP, ABS, PC, PC/ABS, PA, and PBT each form surfaces differently because their melt behavior, crystallization tendency, moisture sensitivity, and filler compatibility are not the same. Even within the same resin family, molecular weight balance and additive package can shift gloss noticeably.
A common example is the effect of crystallinity. Crystalline or semi-crystalline materials can form a surface that loses gloss as crystals develop during cooling. If the cooling behavior is unstable, gloss can vary from part to part or from one area of the part to another. On the other hand, amorphous resins often produce a more uniform appearance, but they may need careful impact or heat modification to match the mechanical requirements of the application.
Moisture is another important factor, especially in hygroscopic resins. When a resin is not dried correctly, moisture can create splay, microvoids, or a cloudy look that reduces apparent gloss. Contamination, poor color masterbatch dispersion, and incompatible regrind can also disrupt the surface layer. Excessive filler loading, especially with coarse mineral or fiber systems, can create a textured, light-scattering skin that lowers gloss even if the part is technically strong.
From our material development experience, a good gloss result starts with asking whether the resin family is naturally aligned with the surface target. If it is not, the solution may involve formulation adjustment rather than only machine tuning. For a deeper look at the relationship between base resin choice and appearance behavior, see material-related surface defect diagnosis for molded parts.
How additives change gloss behavior
Additives can improve or damage surface appearance depending on how they are chosen and balanced. Lubricants and processing aids may improve flow and reduce drag in the cavity, but too much internal or external lubrication can create surface slip that changes sheen or makes the finish look waxy. Mold release additives can help demolding, but excess release may transfer to the surface and lower reflectivity.
Nucleating agents influence crystallization speed and crystal size. In some resins, this can help create a more uniform surface. In others, faster crystallization can reduce gloss by locking in a less polished skin. Impact modifiers may improve toughness but can also alter surface gloss if the dispersed phase is not well controlled. Color masterbatch quality matters as well: poor dispersion, oversize pigment particles, or incompatibility with the base resin can create visible haze or streaking.
High-gloss additive packages are not magic. Their value depends on whether they are formulated to support the specific resin family and end-use need. A surface-improving additive should preserve the required balance of strength, heat resistance, shrinkage, and dimensional stability. If gloss improves but the part becomes brittle, sticky in the mold, or unstable in production, the formulation is not truly successful.
Material family comparison for glossy surface injection molding
Different resins reach acceptable gloss through different routes. The table below is a practical comparison for buyer and processor discussions.
| Resin family | Gloss tendency | Main advantage | Main risk to gloss | Typical note |
|---|---|---|---|---|
| PP | Moderate to high | Good flow, cost efficiency | Crystallinity and shrinkage can affect uniformity | Often improved with formulation and mold control |
| ABS | High | Strong appearance potential | Poor drying or contamination can dull the surface | Common for housings and visible parts |
| PC | High | Clear, premium surface potential | Moisture, stress, and process heat can create blemishes | Needs careful drying and stable processing |
| PC/ABS | High to very high | Balanced appearance and toughness | Blend balance must be consistent across batches | Often used when gloss and impact both matter |
| PA | Moderate | Strength and wear performance | Moisture absorption reduces surface consistency | Appearance depends heavily on drying and design |
| PBT | Moderate | Stable molding behavior | Crystallization and filler content may lower gloss | Good for precision parts with controlled finish |
In practice, ABS and PC/ABS are often selected when visual quality is a primary requirement. PC may also perform well when transparency or premium clarity matters. PP can work well in appearance-focused parts if mold and process conditions are carefully managed. PA and PBT can produce excellent technical parts, but appearance must be planned around moisture and crystallization behavior rather than treated as an afterthought.
When a project needs both surface quality and stable processing, the resin choice should be evaluated against the full production picture. We often discuss this trade-off with customers using PC/ABS resin options for balanced appearance and flow because this family is frequently selected when gloss, impact resistance, and molding stability all matter together.
Machine and process factors that reduce gloss
Even a good resin can look dull if the process conditions are wrong. Low melt temperature may prevent the resin from fully reproducing the mold surface, especially in thin-wall or long-flow parts. Mold temperature is equally important: when the cavity is too cold, the skin freezes before it can level out, leaving a matte or streaky appearance. Injection speed matters because the flow front must move smoothly enough to create a uniform surface layer, but not so aggressively that it generates burn marks, shear defects, or trapped gas.
Packing pressure and holding time also influence gloss. If packing is insufficient, the surface may not fully densify, and light scattering increases. If holding is excessive, the part may become stressed or show gate-related shine differences. Cooling time must be balanced with appearance and cycle efficiency. A part that is ejected before the skin stabilizes can show drag marks or micro-distortion. Screw back pressure and plasticizing stability influence melt homogeneity, which affects whether the surface looks uniform from shot to shot.
At Poly Maro, we often remind processors that gloss is sometimes a process stability problem disguised as a material complaint. A change in barrel temperature, residence time, or drying condition can be enough to shift the appearance. In many cases, the most useful question is not “Which resin is glossy?” but “Which process window lets this resin form a stable surface every time?”
For teams comparing material options against processing consistency and production cost, how processability affects molding stability and finish is a useful way to think about the real cost of appearance defects, because easier processing often means fewer glossy part rejects and less adjustment time on the machine.
Why process temperature and fill behavior matter so much
Surface gloss depends on the melt being able to replicate the cavity finish before the skin locks in. Higher melt temperature can improve flow and replication, but too much heat may cause degradation, fumes, or longer cycle times. Higher mold temperature can improve gloss in many materials, but it may also extend cooling time and affect productivity. The goal is not simply to maximize temperature. The goal is to find a stable window in which the part fills cleanly and the surface develops evenly.
Fill behavior also affects where gloss is lost first. A gate area may remain shinier because it is packed longer and stays hotter. End-of-fill areas may dull because the flow front loses energy before the surface fully conforms to the cavity. Long flow paths can create gloss gradients from gate to far end. This is why a single gloss reading sometimes hides a more complex pattern along the part.
In troubleshooting, we always recommend comparing gloss against flow direction and location. If the dull area follows the flow path, process and geometry are likely involved. If the dullness is random across parts, material mixing, drying, or contamination may be more likely.
Mold-related causes of poor gloss
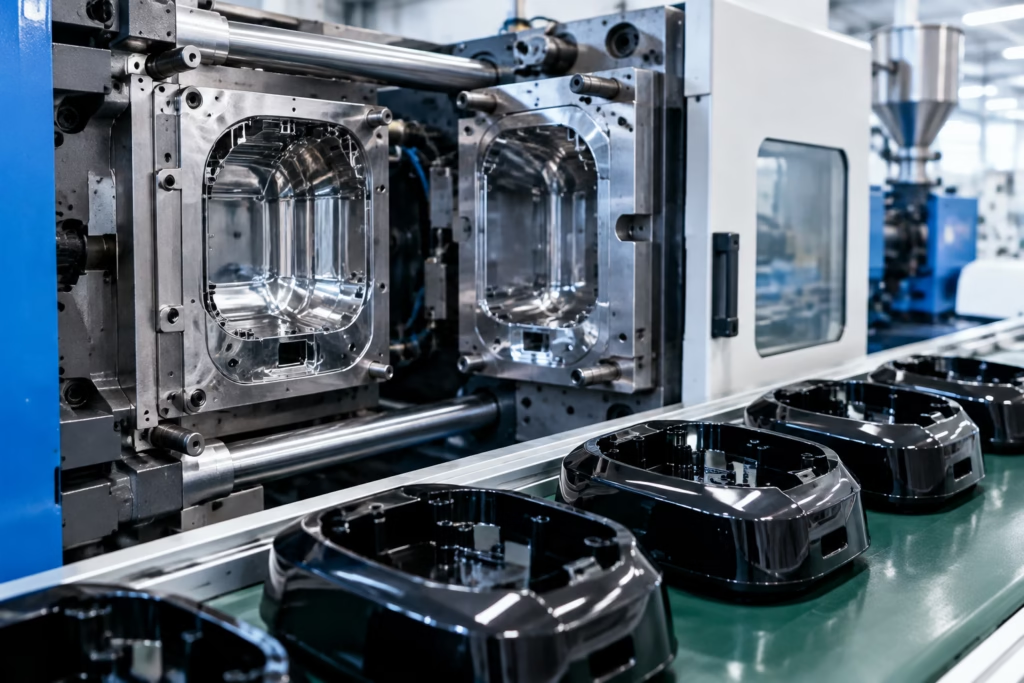
The mold often determines how faithfully the resin can reproduce the surface finish. A highly polished cavity can still produce a dull part if venting is poor, because trapped gas prevents the melt from contacting the surface cleanly. If the cavity surface itself is rough or worn, the part will reflect that texture. Gate design and runner balance also matter because they influence flow pressure, temperature retention, and the speed at which the skin is formed.
Localized freezing around thin sections, ribs, or abrupt wall transitions can create appearance breaks. Uneven wall thickness often leads to differential cooling, which changes the gloss level across the part. Ejection marks, drag, and poor venting near the end of fill can also leave visible surface changes that are easily mistaken for a resin issue.
From a manufacturer’s perspective, mold maintenance is a gloss-control tool. A cavity that is clean, properly vented, and balanced will usually outperform a heavily tuned machine running into a poorly maintained tool. That is why high-appearance projects should include mold review early, not only after defects appear.
For process teams that need practical guidance on defect recognition and corrective action, the practical troubleshooting guide for injection molding defects is relevant because it reinforces the idea that surface issues often arise from a combination of fill, pack, venting, and ejection conditions rather than a single isolated variable.

How to troubleshoot by defect pattern
A pattern-based diagnosis is faster than random adjustments. Edge dullness often suggests early freeze or insufficient local pressure. Gate-area gloss loss can indicate excessive shear, gate damage, or an imbalance between packing and cooling. Dull streaks along the flow direction may point to poor melt homogeneity, contamination, or unstable viscosity. Weld-line dullness usually indicates the meeting of two flow fronts that did not fuse cleanly enough to create a uniform skin. Surface clouding can be linked to moisture, additives, or excessive filler scattering light.
There is a useful logic here: the more localized the defect, the more likely it is tied to mold geometry or flow pattern. The more global and uniform the defect, the more likely it is tied to resin condition or machine setting. A uniform dull finish across many parts often points to temperature, drying, or formulation. A spotty finish in one area of the part often points to cavity condition, gating, or cooling imbalance.
When the defect is not obvious, compare a known-good sample against the current production sample using the same lighting, viewing angle, and location on the part. This makes it easier to distinguish a true gloss drop from a color or texture shift.
A step-by-step diagnostic method we use in practice
We recommend a simple troubleshooting sequence before changing anything major:
- Confirm the defect type visually under controlled lighting.
- Check whether the problem appears in one area, one cavity, or the whole batch.
- Review drying records, resin lot changes, regrind ratio, and masterbatch variation.
- Compare current machine settings with a known stable production window.
- Inspect mold venting, gate condition, cavity polish, and ejector marks.
- Run a small process adjustment trial only after the likely root cause is narrowed down.
This sequence keeps teams from over-correcting. A common mistake is to increase temperature, speed, and pressure all at once. That may temporarily improve gloss, but it can also create flash, stress, burn marks, or dimensional drift. Another common mistake is to blame the resin before checking the mold and process record. In many plants, the fastest resolution comes from comparing several shots side by side instead of making a single broad assumption.
As part of this method, a structured review of additive packages, drying behavior, and technical data can help narrow the search. For sourcing and engineering teams, heat-resistant plastic compound solutions for stable processing are often worth reviewing when gloss problems occur in parts that also need elevated-temperature performance, because heat and appearance requirements can interact in ways that limit material options.
When to change the resin versus when to adjust the process
Not every low-gloss defect should trigger a resin change. If the part only loses gloss after a temperature drop, poor drying, or a mold maintenance issue, the right response is process correction. If the resin family naturally struggles to achieve the required appearance, or if a filler package makes the surface too matte for the target market, then a formulation change may be more effective.
Here is a practical decision logic:
| Situation | More likely fix | Why |
|---|---|---|
| Gloss drops after a process change | Adjust process | The material was likely already suitable |
| Gloss varies by cavity or location | Inspect mold and fill pattern | Geometry and venting may be driving the defect |
| Part is uniformly dull across runs | Review resin formulation | Base resin or additives may not support the target finish |
| Gloss improves but part warps or becomes brittle | Rebalance formulation | The modification solved one problem but created another |
| Appearance is unstable across lots | Audit supplier consistency | Batch variation may be influencing the surface |
This is where material selection and process capability must be evaluated together. A buyer may choose a compound for its higher gloss potential, but if the plant cannot dry it properly, the part may still fail appearance requirements. Likewise, a processor may optimize machine settings, but if the material has a highly filled or moisture-sensitive formulation, stability may remain limited.
For projects where appearance and mechanical balance must be held together, our team often looks at resin families, additive packages, and production realities as one decision. That is why we place so much emphasis on practical development rather than isolated datasheet targets.
How to select additives for high gloss without sacrificing performance
The temptation in glossy surface injection molding is to chase a brighter surface by adding more processing aid or release. That usually causes new problems. A better approach is to choose additives that support the right balance of flow, crystallization control, and surface formation.
Lubrication should reduce friction enough to help flow, but not so much that the surface looks greasy or loses paint adhesion. Nucleating agents should be selected only when their effect on crystallization improves surface uniformity without creating excessive whiteness or haze. Impact modifiers should maintain toughness while preserving a smooth skin. Color systems must disperse well and remain stable under the selected thermal profile.
For some applications, an appearance-tuned compound is the most efficient choice because it lets the buyer solve gloss, flow, and color consistency together. In other cases, a standard resin with process optimization is the better route because it preserves cost structure and minimizes qualification burden. There is no universal answer, only a fit-for-purpose one.
Sample validation for high-appearance molding
Before mass production, we recommend validating appearance in the same conditions expected for real production. Gloss should not be judged from a single handheld inspection in one light source. Instead, use visual standards, gloss meter readings where appropriate, and side-by-side comparison against a reference sample. Check the part at the gate, center, and end-of-fill, not just at the easiest viewing point.
For materials that may absorb moisture or experience thermal stress, aging checks matter too. A part that looks good immediately after molding but dulls after storage, shipping, or thermal exposure may still be a fail. Surface consistency after drying cycles, assembly, or short-term aging can reveal whether the formulation is truly stable.
In our experience, the best validation plans also include process repeatability. Run multiple shots, repeat after a material lot change, and compare cavity-to-cavity if the tool is multicavity. This is how teams separate a lucky good shot from a real production solution.
Common mistakes that make gloss worse
Some of the most frequent gloss problems are self-inflicted. Overusing external release agents can create a slippery film that changes light reflection and reduces paintability. Excess filler loading may improve stiffness but can make the surface inherently dull. Poor drying, especially in hygroscopic materials, often creates splay or clouding. Unstable batch mixing leads to color inconsistency and uneven sheen. Ignoring mold polish, vent cleaning, or gate wear turns a manageable process issue into a recurring defect.
Another mistake is treating gloss as separate from cost-performance. A formulation that gives a very glossy finish but requires tight process controls, slow cycles, or special handling may raise total production cost. Sometimes a slightly lower gloss level with stronger stability is the better business decision for a high-volume part.
That is also why supplier communication matters. If a supplier can explain the formulation’s impact on flow, drying, surface, and long-run consistency, the buyer can make a more informed decision. When comparing standard grades and custom solutions, some teams find it useful to review custom compound vs standard grade in production because appearance targets are often tied to how much formulation control the project really needs.
What buyers should ask when sourcing high-gloss materials
Procurement teams should ask practical questions, not just price questions. Can the supplier explain how the resin achieves gloss without losing strength or heat resistance? Is the formulation stable across batches? Are recommended drying and molding windows clearly defined? Can the supplier support sample validation and issue troubleshooting if the surface changes in production?
For high-appearance programs, consistency is often more valuable than a slightly lower unit price. A resin that ships cheaply but varies in color, flow, or additive balance can cost far more once rejects and downtime are counted. Buyers should also ask whether the supplier can support color matching, additive tuning, and production scaling without repeated reformulation.
In many cases, technical communication saves more time than a price negotiation. If a supplier understands the surface target, the part geometry, and the process limits, the final material is much more likely to succeed.
Conclusion
Low gloss in injection molded parts is usually a system problem, not a single failure point. Resin family, additive balance, moisture control, mold finish, venting, fill speed, pack pressure, and cooling all influence how well the surface forms. The fastest path to improvement is to identify the defect pattern, separate material issues from process and mold issues, and then make a targeted change rather than a broad one.
From our manufacturer perspective, glossy surface injection molding is most successful when appearance is treated as part of the overall performance spec. A stable high-gloss surface must still survive molding, assembly, shipping, and end use. The best solution is the one that balances gloss, strength, heat resistance, dimensional stability, and production consistency in a way the plant can actually sustain.
FAQs
Why does an injection molded part look glossy in one area and dull in another?
Uneven gloss usually means the surface formed differently across the part. The gate area may stay hotter and receive more packing, while end-of-fill areas freeze earlier and look duller. Variations in wall thickness, venting, mold temperature, or flow length can also create local gloss differences. If the pattern follows flow direction, the process and mold geometry should be reviewed first.
Can drying really affect surface gloss?
Yes. In moisture-sensitive materials, incomplete drying can create splay, haze, or microvoids that reduce apparent gloss. Even if the part is mechanically acceptable, the surface may look cloudy or streaked. Drying conditions should match the resin family and the actual storage condition of the pellets before molding.
Is a high-gloss additive always the right fix?
No. A gloss-improving additive can help only if it fits the base resin and the application. Too much lubrication or release can create a greasy look, hurt adhesion, or change processing behavior. The better question is whether the additive improves gloss while preserving the needed strength, heat resistance, and production stability.
Which resin families usually give the best appearance?
ABS and PC/ABS are often strong choices for visible parts because they can deliver good surface quality with manageable processing. PC also supports premium appearance when drying and molding are controlled. PP can look good when the mold and process are tuned well. PA and PBT can work, but moisture and crystallization must be managed carefully.
How can I tell whether the problem is the material or the machine?
Check whether the defect is uniform across many parts or localized to certain areas or cavities. Uniform dullness often suggests resin condition, drying, or process temperature issues. Localized dullness or streaking often suggests gate, venting, mold polish, or fill-pattern problems. Comparing current parts with a known-good sample is usually the quickest first step.
What should buyers ask suppliers before approving a glossy material?
Ask how the formulation achieves gloss, how stable it is across lots, what drying and molding conditions are required, and whether the supplier can support sample validation and troubleshooting. For production programs, consistency and processing guidance matter as much as the initial appearance result.